
This blog and video series ‘Understanding The Trigger’ (UTT) is looking at each trigger in the Microsoft Flow workspace. The aim is to understand what they do, how to use them and building an example of them being used to allow us to have a greater understanding of the breadth of uses for Microsoft Flow!

The Trigger
When a HTTP request is received is a trigger that is responsive and can be found in the ‘built-in’ trigger category under the ‘Request’ section. This is a responsive trigger as it responds to an HTTP Request and thus does not trigger unless something requests it to do so. This blog has touched briefly on this before when looking at passing automation test results to Flow and can be found here.
What the hell is a HTTP Request?
Firstly, HTTP stands for Hypertext Transfer Protocol which is used for structured requests and responses over the internet. Sending a request, you would expect a response, be it an error or the information you have requested, effectively transferring data from one point to another.
The structure of the requests/responses that Microsoft Flow uses is a RESTful API web service, more commonly known as REST. We will be using this to demonstrate the functionality of this trigger. Below is a simple diagram I’ve created to help explain what exactly is going on and underneath it I’ve added a useful link for further reading.

If you think of a menu, it provides a list of dishes you can order, along with a description of each dish. When you specify what menu items you want, it’s passed via the waiter to the restaurant’s kitchen does the work and then the waiter provides you with some finished dishes. You don’t know exactly how the restaurant prepares that food, and you don’t really need to or care, this is very similar to an API it provides you with a list of items you can effectively call and it does some work on the third-parties server, you don’t know what it’s doing, you’re just expecting something back.
In this instance, we’re the restaurant receiving the order, we’re receiving the HTTP Request, therefore, once received, we’re going to trigger our logic (our Flow), we’re now the ones effectively completing the order. If we receive an HTTP Request with information, this will trigger our Flow and we can manipulate that information and pass it to where it’s needed. Using the Automation Testing example from a previous blog post, when the test results were sent via a HTTP Request to Microsoft Flow, we analysed the results and sent them to users with a mobile notification informing them of a pass/failure.
Further Reading: An Introduction to API’s
Functionality
When first adding the ‘When a HTTP request is received’ trigger, to a flow you’re presented with a HTTP POST URL informing you that the URL will be generated after the Flow has been saved. This means that while you’re initially creating your Flow, you will not be able to provide/use the URL to that is required to trigger the Flow.
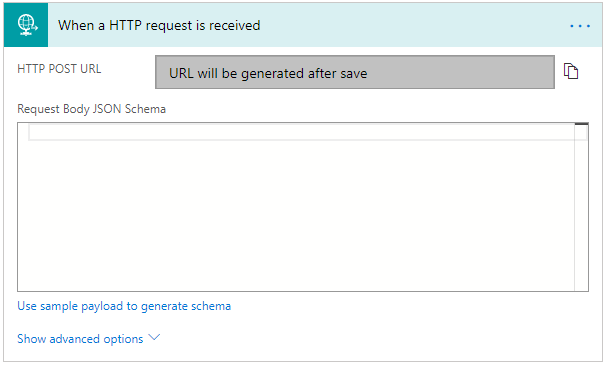
Request Body JSON Schema
This is where you can modify your JSON Schema. If you do not know what a JSON Schema is, it is a specification for JSON that defines the structure of the JSON data for validation, documentation as well as interaction control. It is effectively a contract for the JSON data. This will define how the structure of the JSON data will be passed to your Flow.
Use Sample Payload to Generate Schema
If you’re wanting to save a lot of time and effort, especially with complex data structures, you can use an example payload, effectively copying and pasting what will be sent to your Flow from the other application into the generator and it will build a schema for you. Clicking this link will load a pop-up box where you can paste your payload into.
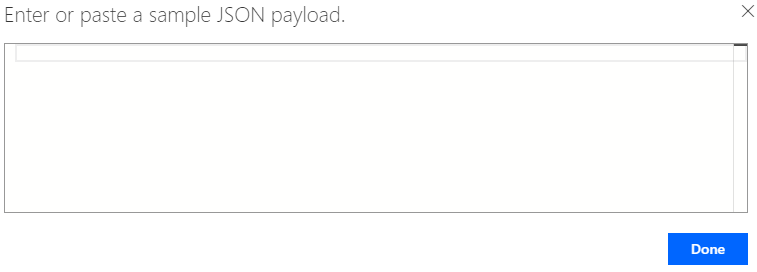
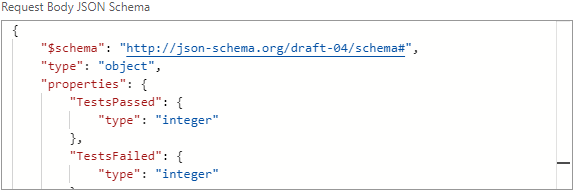
Once you’ve pasted your JSON sample into the box and hit done, the schema will be created and displayed in the ‘Request Body JSON Schema’ section as shown below:
Method (Advanced Options)
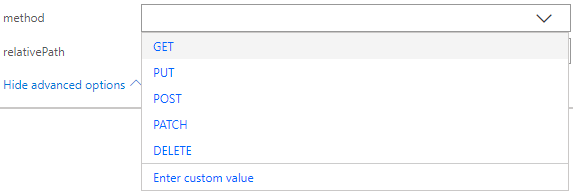
The method allows you to set an expected request type such as GET, PUT, POST, PATCH & DELETE. You will more-than-likely ignore this section, however, if you want to learn more about HTTP Request types please refer to the reading material listed in the previous section regarding API’s.
Example
As a user I want to use the Microsoft Flow ‘When a HTTP Request is Received’ trigger to send a mobile notification with the Automation Test results after each test run, informing my of any failures.
User Story
Firstly, we want to add the ‘When a HTTP Request is Received’ trigger. This will then provide us with, as we saw previously, the URL box notifying us that the URL will be created after we have saved our Flow.
We want to get a JSON payload to place into our schema generator, so we need to load up our automation framework and run a test to provide us with the JSON result (example shown below). If you would like to look at the code base for the improvised automation framework you can check it out on GitHub here.
JSON Data Example
{
   "TestsPassed":1,
   "TestsFailed":0,
   "TotalTests":1
}
Schema Generation Example

Generated JSON Schema Example
{
    "$schema": "http://json-schema.org/draft-04/schema#",
    "type": "object",
    "properties": {
        "TestsPassed": {
            "type": "integer"
        },
        "TestsFailed": {
            "type": "integer"
        },
        "TotalTests": {
            "type": "integer"
        }
    },
    "required": [
        "TestsPassed",
        "TestsFailed",
        "TotalTests"
    ]
}
Now we have set the ‘When a HTTP Request is Received’ trigger to take our test results, and described exactly what we’re expecting, we can now use that data to create our condition.
Our condition will be used to determine how what the mobile notification states after each run, if there are failures, we want to highlight this so that an action can be put in place to solve any issues as per the user story.
The condition will take the JSON value of TestsFailed and check that the value is less than or equaled to 0. If the TestsFailed value is 0, we know we have no test failures and we can proceed with the ‘Yes’ condition, however, if we have any number greater than 0, we need to proceed with the ‘No’ value.

Providing we have 0 test failures we will run a mobile notification stating that ‘All TotalTests tests have passed’. TotalTests is the value of all the tests that were ran during the test cycle that was passed view the HTTP Request and provided a value, just like the TestsFailed JSON value.
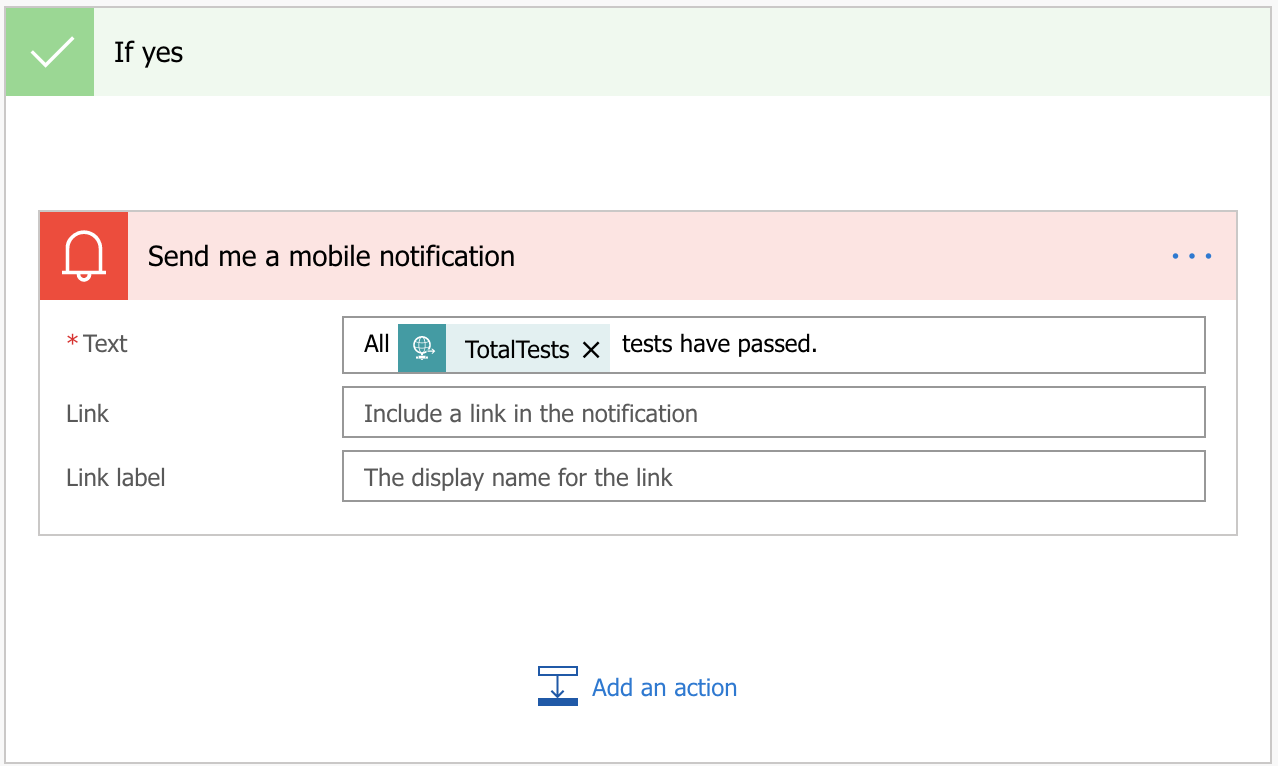
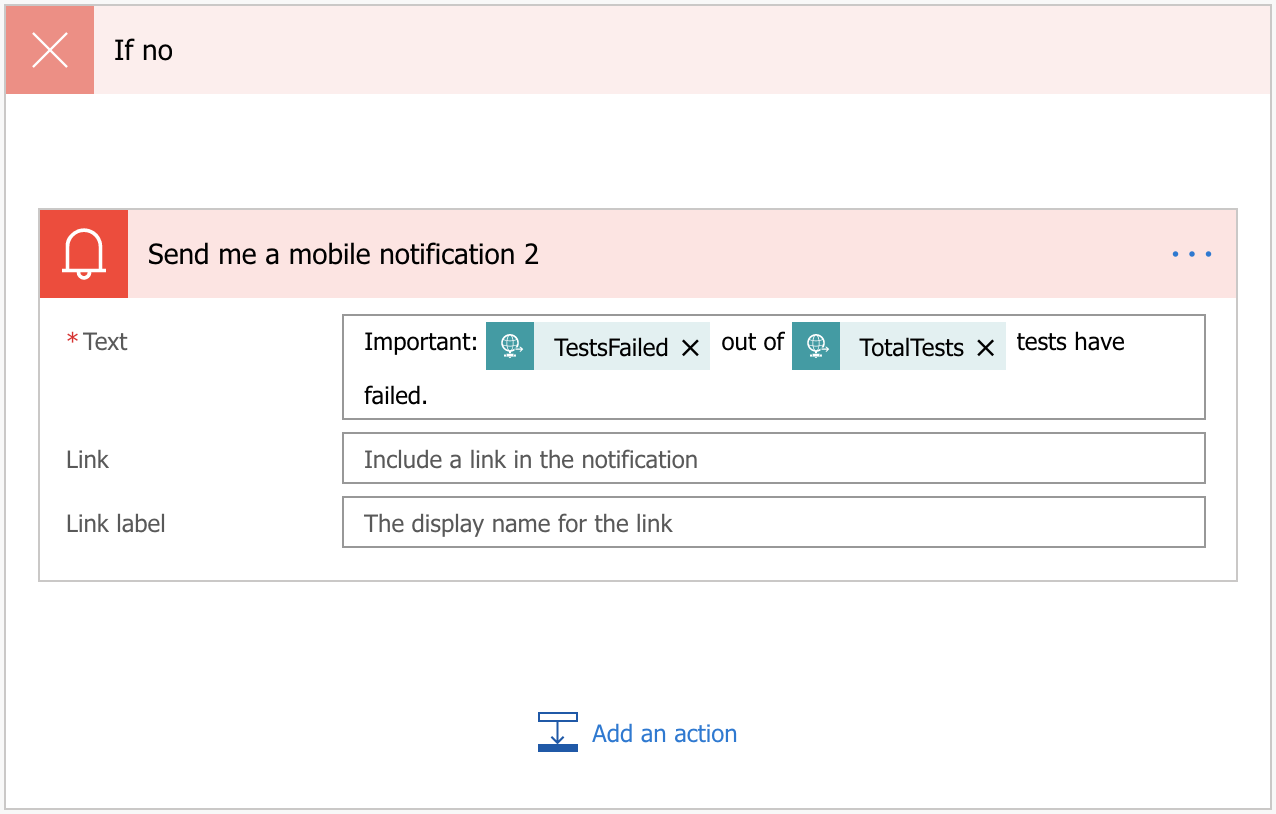
Now all we need to do to complete our user story is handle if there is any test failures. If the TestFailures value is greater than zero, we will run the ‘No’ condition, which will state ‘Important: TestsFailed out of TotalTests tests have failed’. Lets break this down with an example of 1 test out of 5 failing: TestsFailed (the value of the tests failed JSON e.g. 1) and the TotalTests (the value of the total number of tests run JSON e.g. 5) the notification could read;
Important: 1 out of 5 tests have failed.
Demonstration
This demonstration was taken from a Windows 10 PC running an Automation Suite of 1 test and making a HTTP Request to pass the JSON information directly to flow, which then ran through our newly created Flow.

