So, we all know how awesome Power Apps is, however, Power Automate is equally as awesome and can be used on its on for data applications. This blog post is the first of a small series and aims at creating a custom connector for the NHL™ (because I’m starting to become a big fan!) and allowing a user to pass a team or player name and return detailed information to the user, mimicking a stand-alone data retrieval application.

Why?
Why is this useful? Well firstly, this aims to show the capabilities of Flow and that it should not simply be viewed as a ‘connector’ between third party and Microsoft applications, it’s so much more. There is also the business case of passing information easily, as previously blogged about as an example of test results. Data can be displayed to a user easily via email or notification direct from Power Automate without the need for additional applications.
Custom NHL Connector – Stage 1
This section goes into a lot of detail about creating the Custom NHL Connector. If you would like to read more about creating custom connectors visit here, if not then let’s continue!
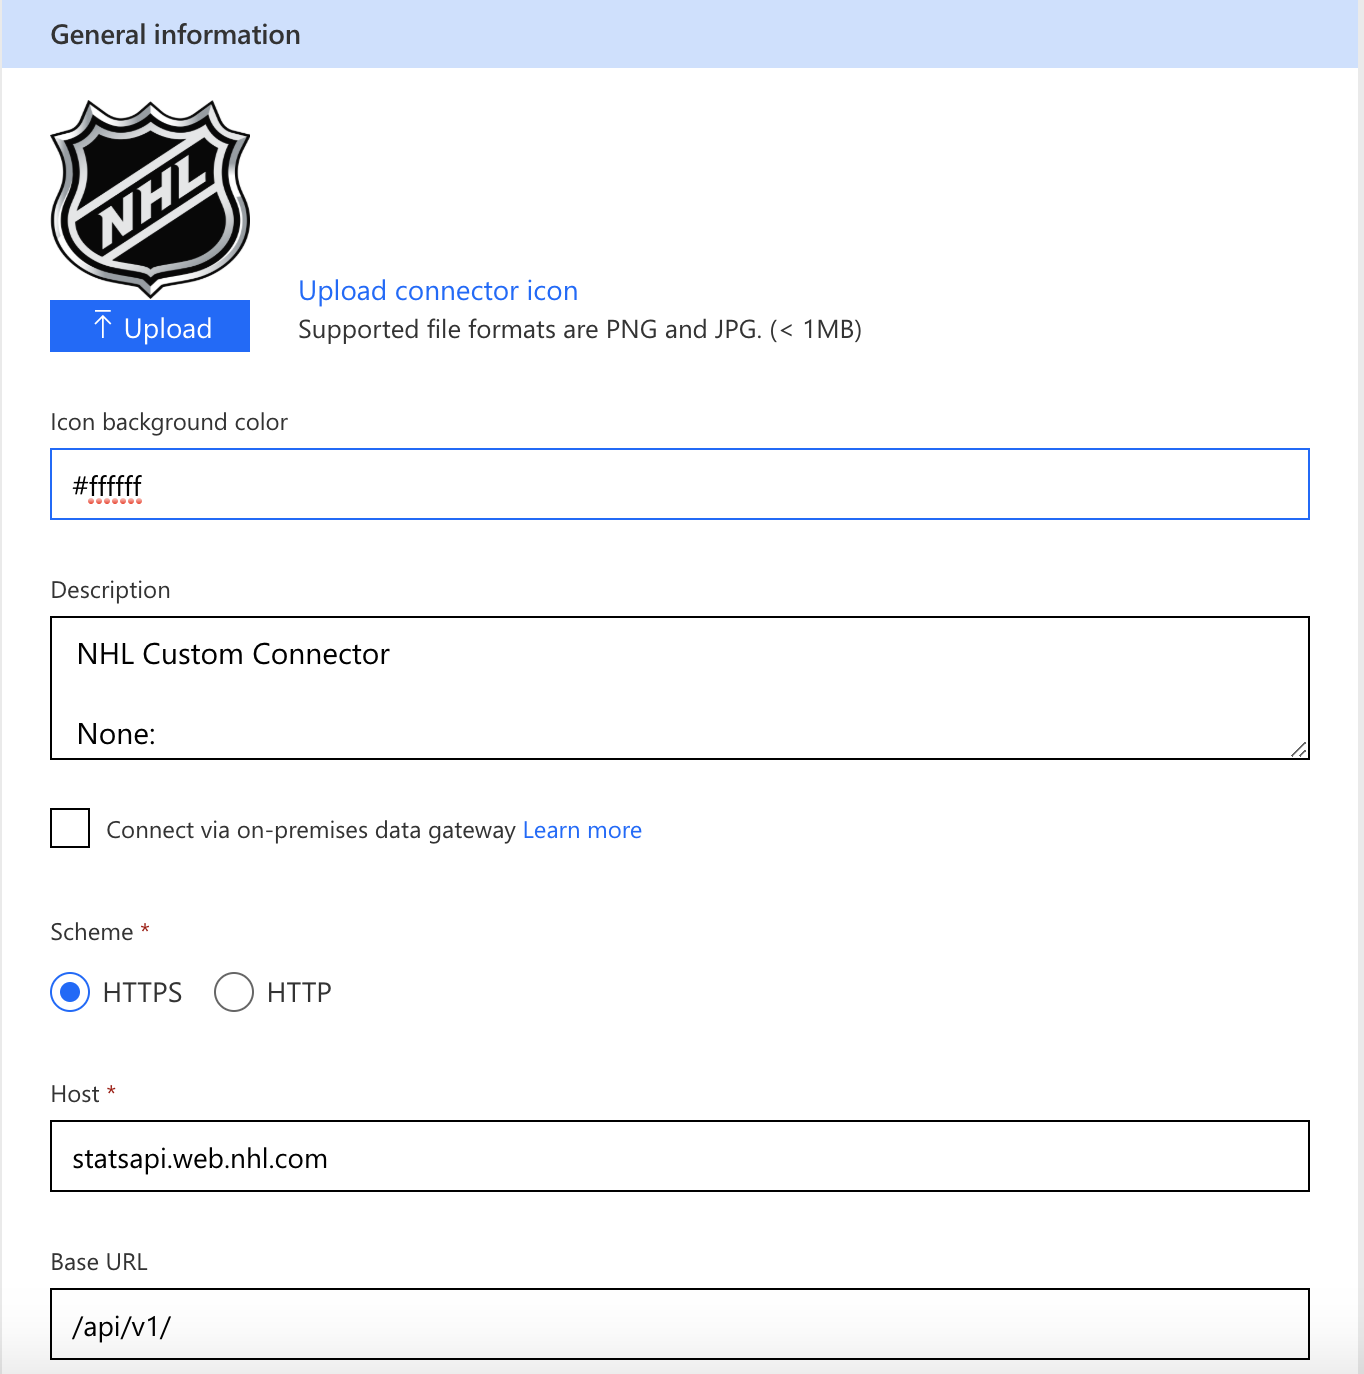
The NHL API is public facing and we need to add the url ‘statsapi.web.nhl.com’ as the HOST with HTTPS selected. Then we need to add ‘/api/v1/’ as the base url.
While the API is public facing it has no authentication so we can simply select ‘no authentication’ on the Security tab and hit the definition button.

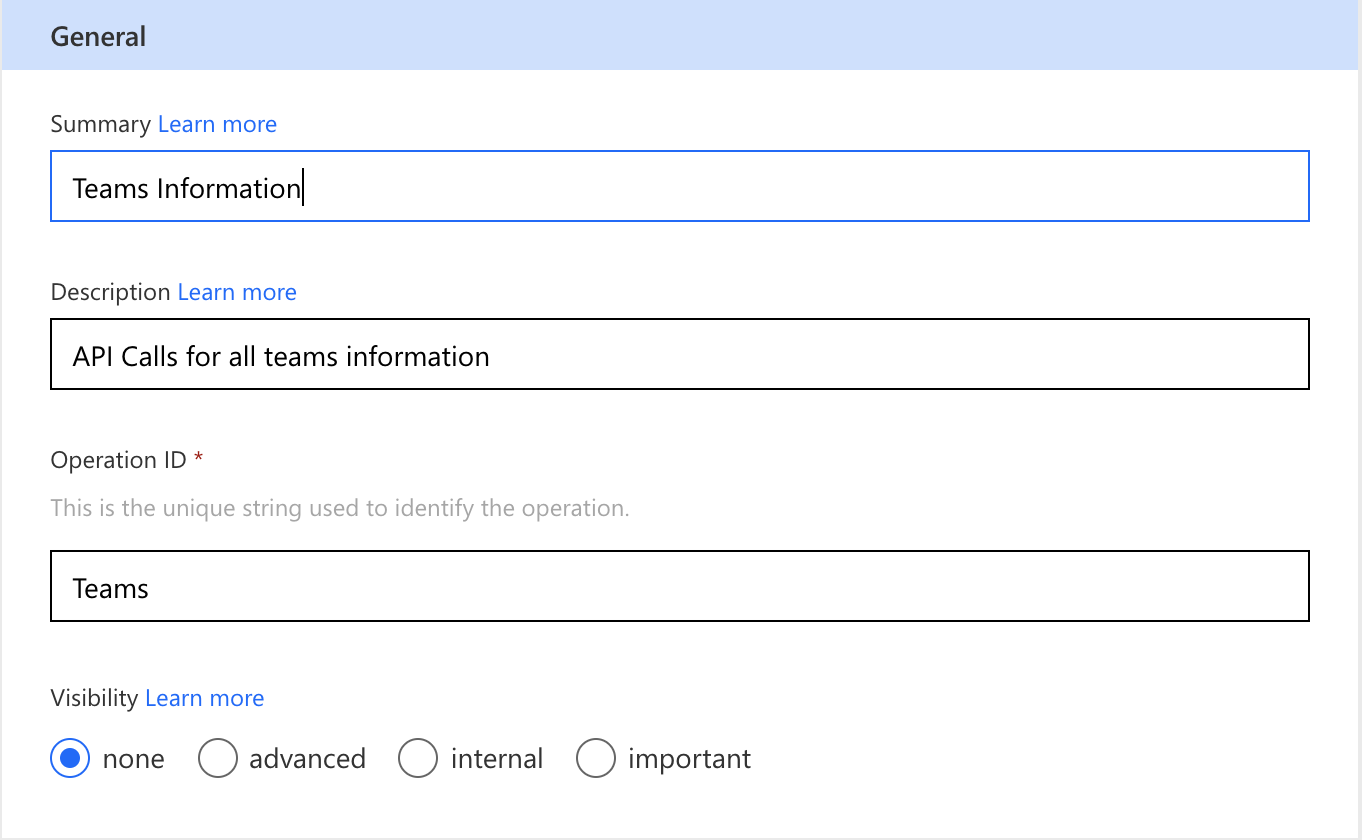
On the Definition tab, this is where we place the HTTP requests, pass queries and simply build our REST requests. Firstly, we should add a summary of what this Action is doing, add a description to explain what it is doing and then add a unique identifier to separate from other Actions.
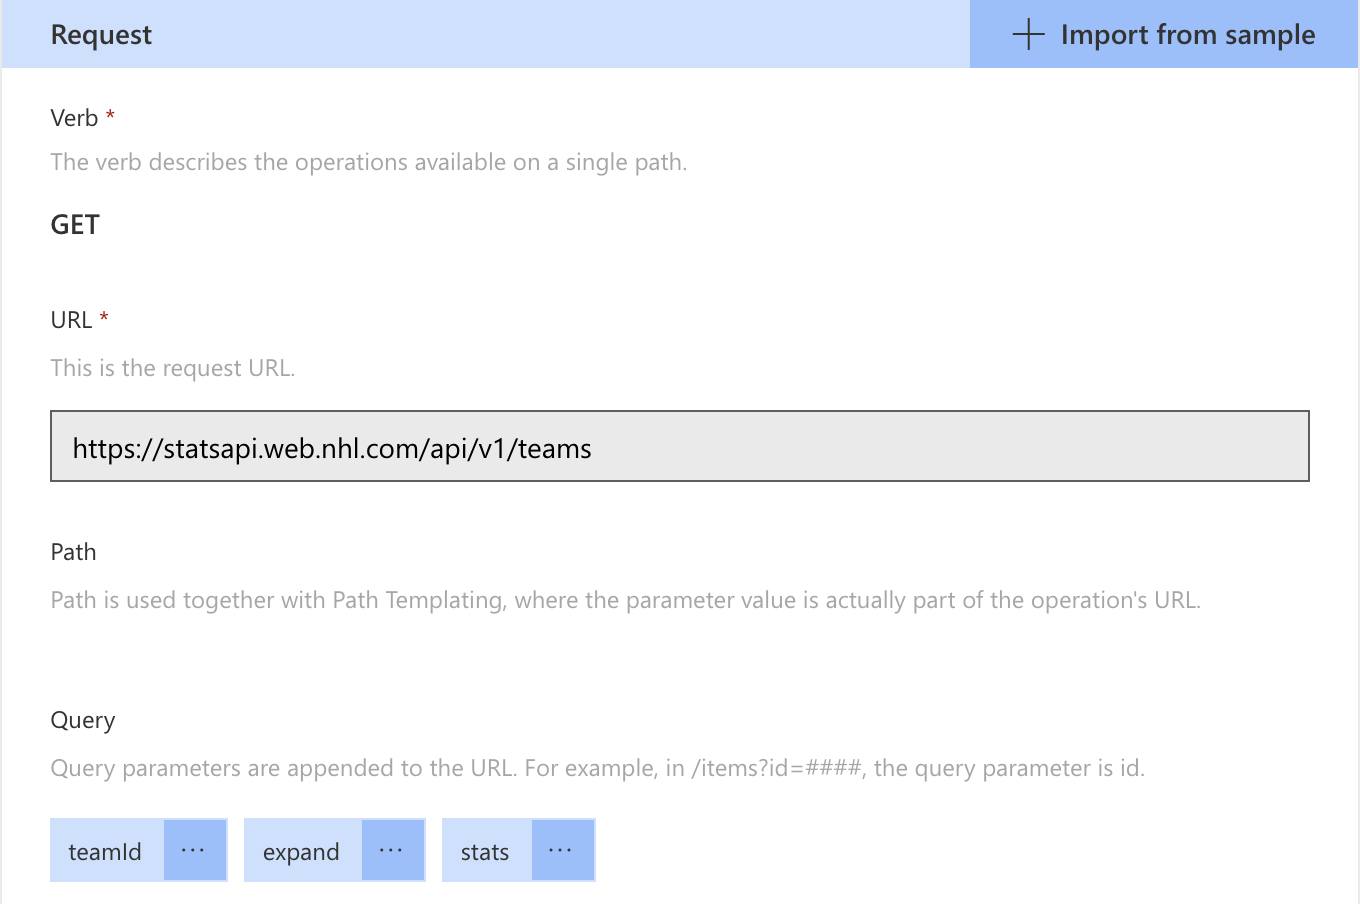
We then need to create a request, to do this easily, you can copy the URL: ‘https://statsapi.web.nhl.com/api/v1/teams?teamId=5&expand=team.roster&stats=statsSingleSeasonPlayoffs’ and then paste it into the ‘Import from Sample’ section of the request, after selecting ‘GET’. Then hit the import button. This will add three queries: expand, teamId and stats. These queries allow you to pass parameters to request certain information about teams, stats, players etc.
We then should run a sample request. Why? Because we need to pass a sample payload in the response section to map fields. You can easily do this by simply visiting the URL used earlier ‘https://statsapi.web.nhl.com/api/v1/teams?teamId=5&expand=team.roster&stats=statsSingleSeasonPlayoffs’ and copying the JSON on the website. You then past that JSON into the ‘Import from Sample’ on the response section and click import.
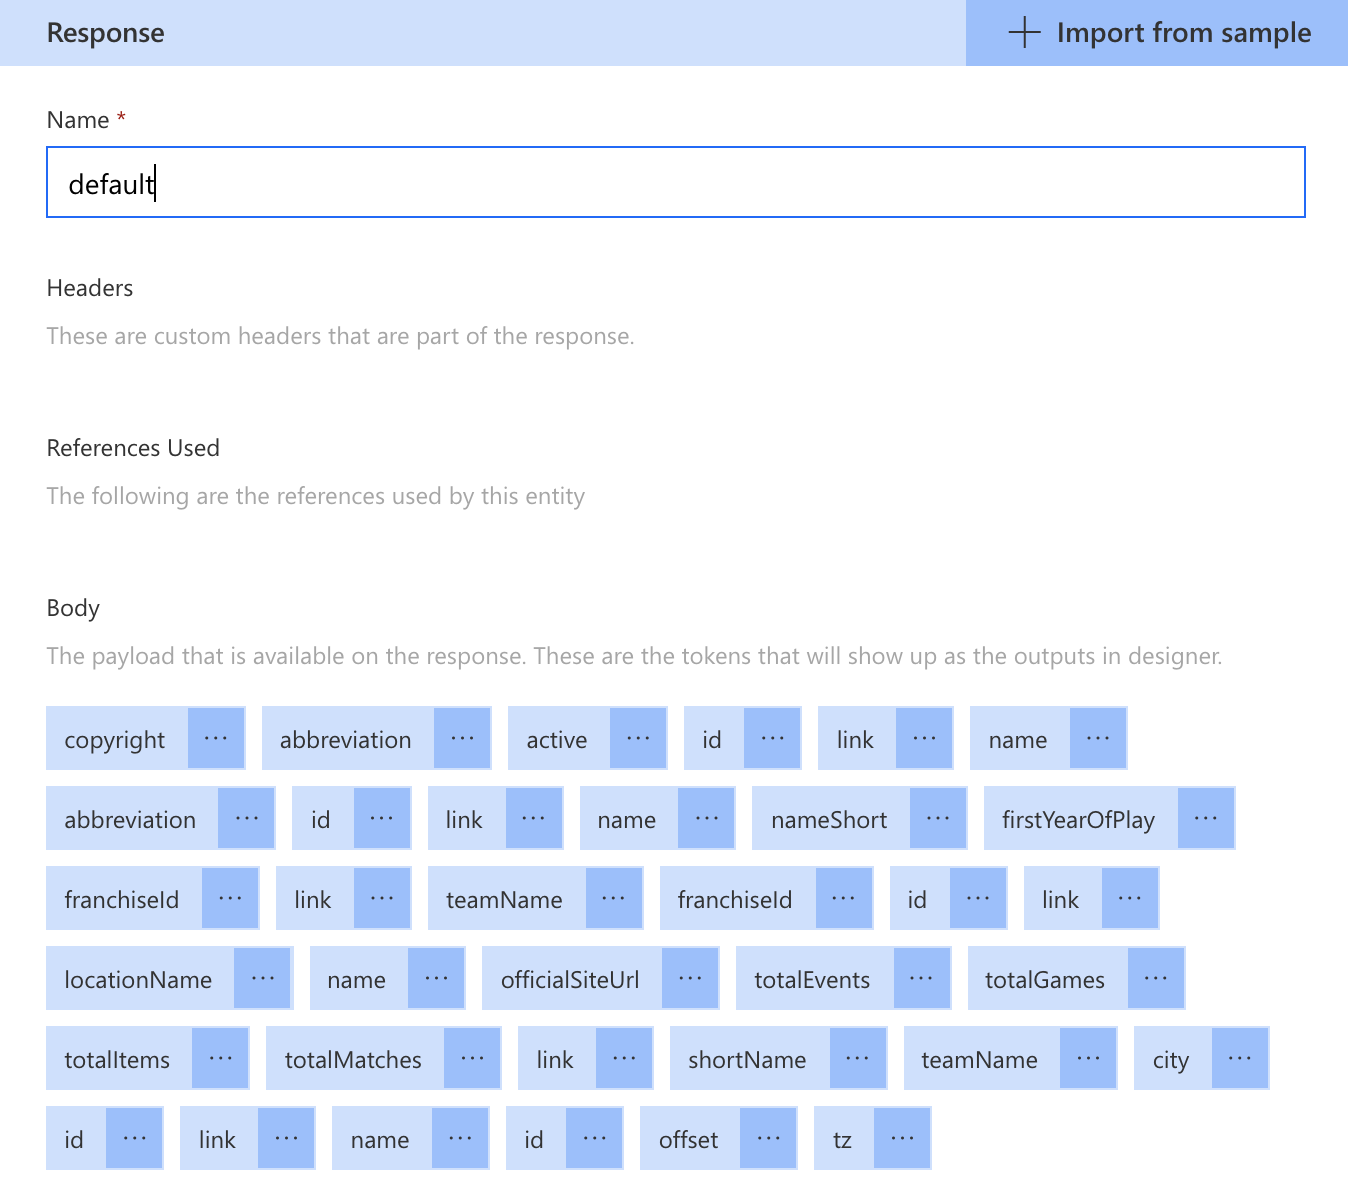
You now have created a simplified (Stage 1) version of the overall NHL connector we aim to create. Click save and run a test, it should pass.
First Flow Steps
To create the first steps of out Flow, we need to have a trigger. We will be using a Manual push button trigger for this step to simulate a ‘start search’ button within an application. This will also need a team name entered from a user (see below).

Now we have the Team Name passed from the user, lets’ assign the input to a string variable (as shown below).

We also need to somehow get the Team ID (as it is the only method of retrieving an individual team) from the list of returned teams in a moment. So, let’s also create another variable called ‘Team ID’ and assign it as an integer (shown below).

Now we need to get a list of the teams and work out the ID associated to the team name. Now we have asked for a team name, at this stage we’re anticipating that the user will enter a correct NHL full team name or at least a partial team name. (We will be expanding on this in a later post to include abbreviations etc). To do this, we call our custom connector, but we do not enter any queries, this will call the /teams/ section of the API and return all teams information.

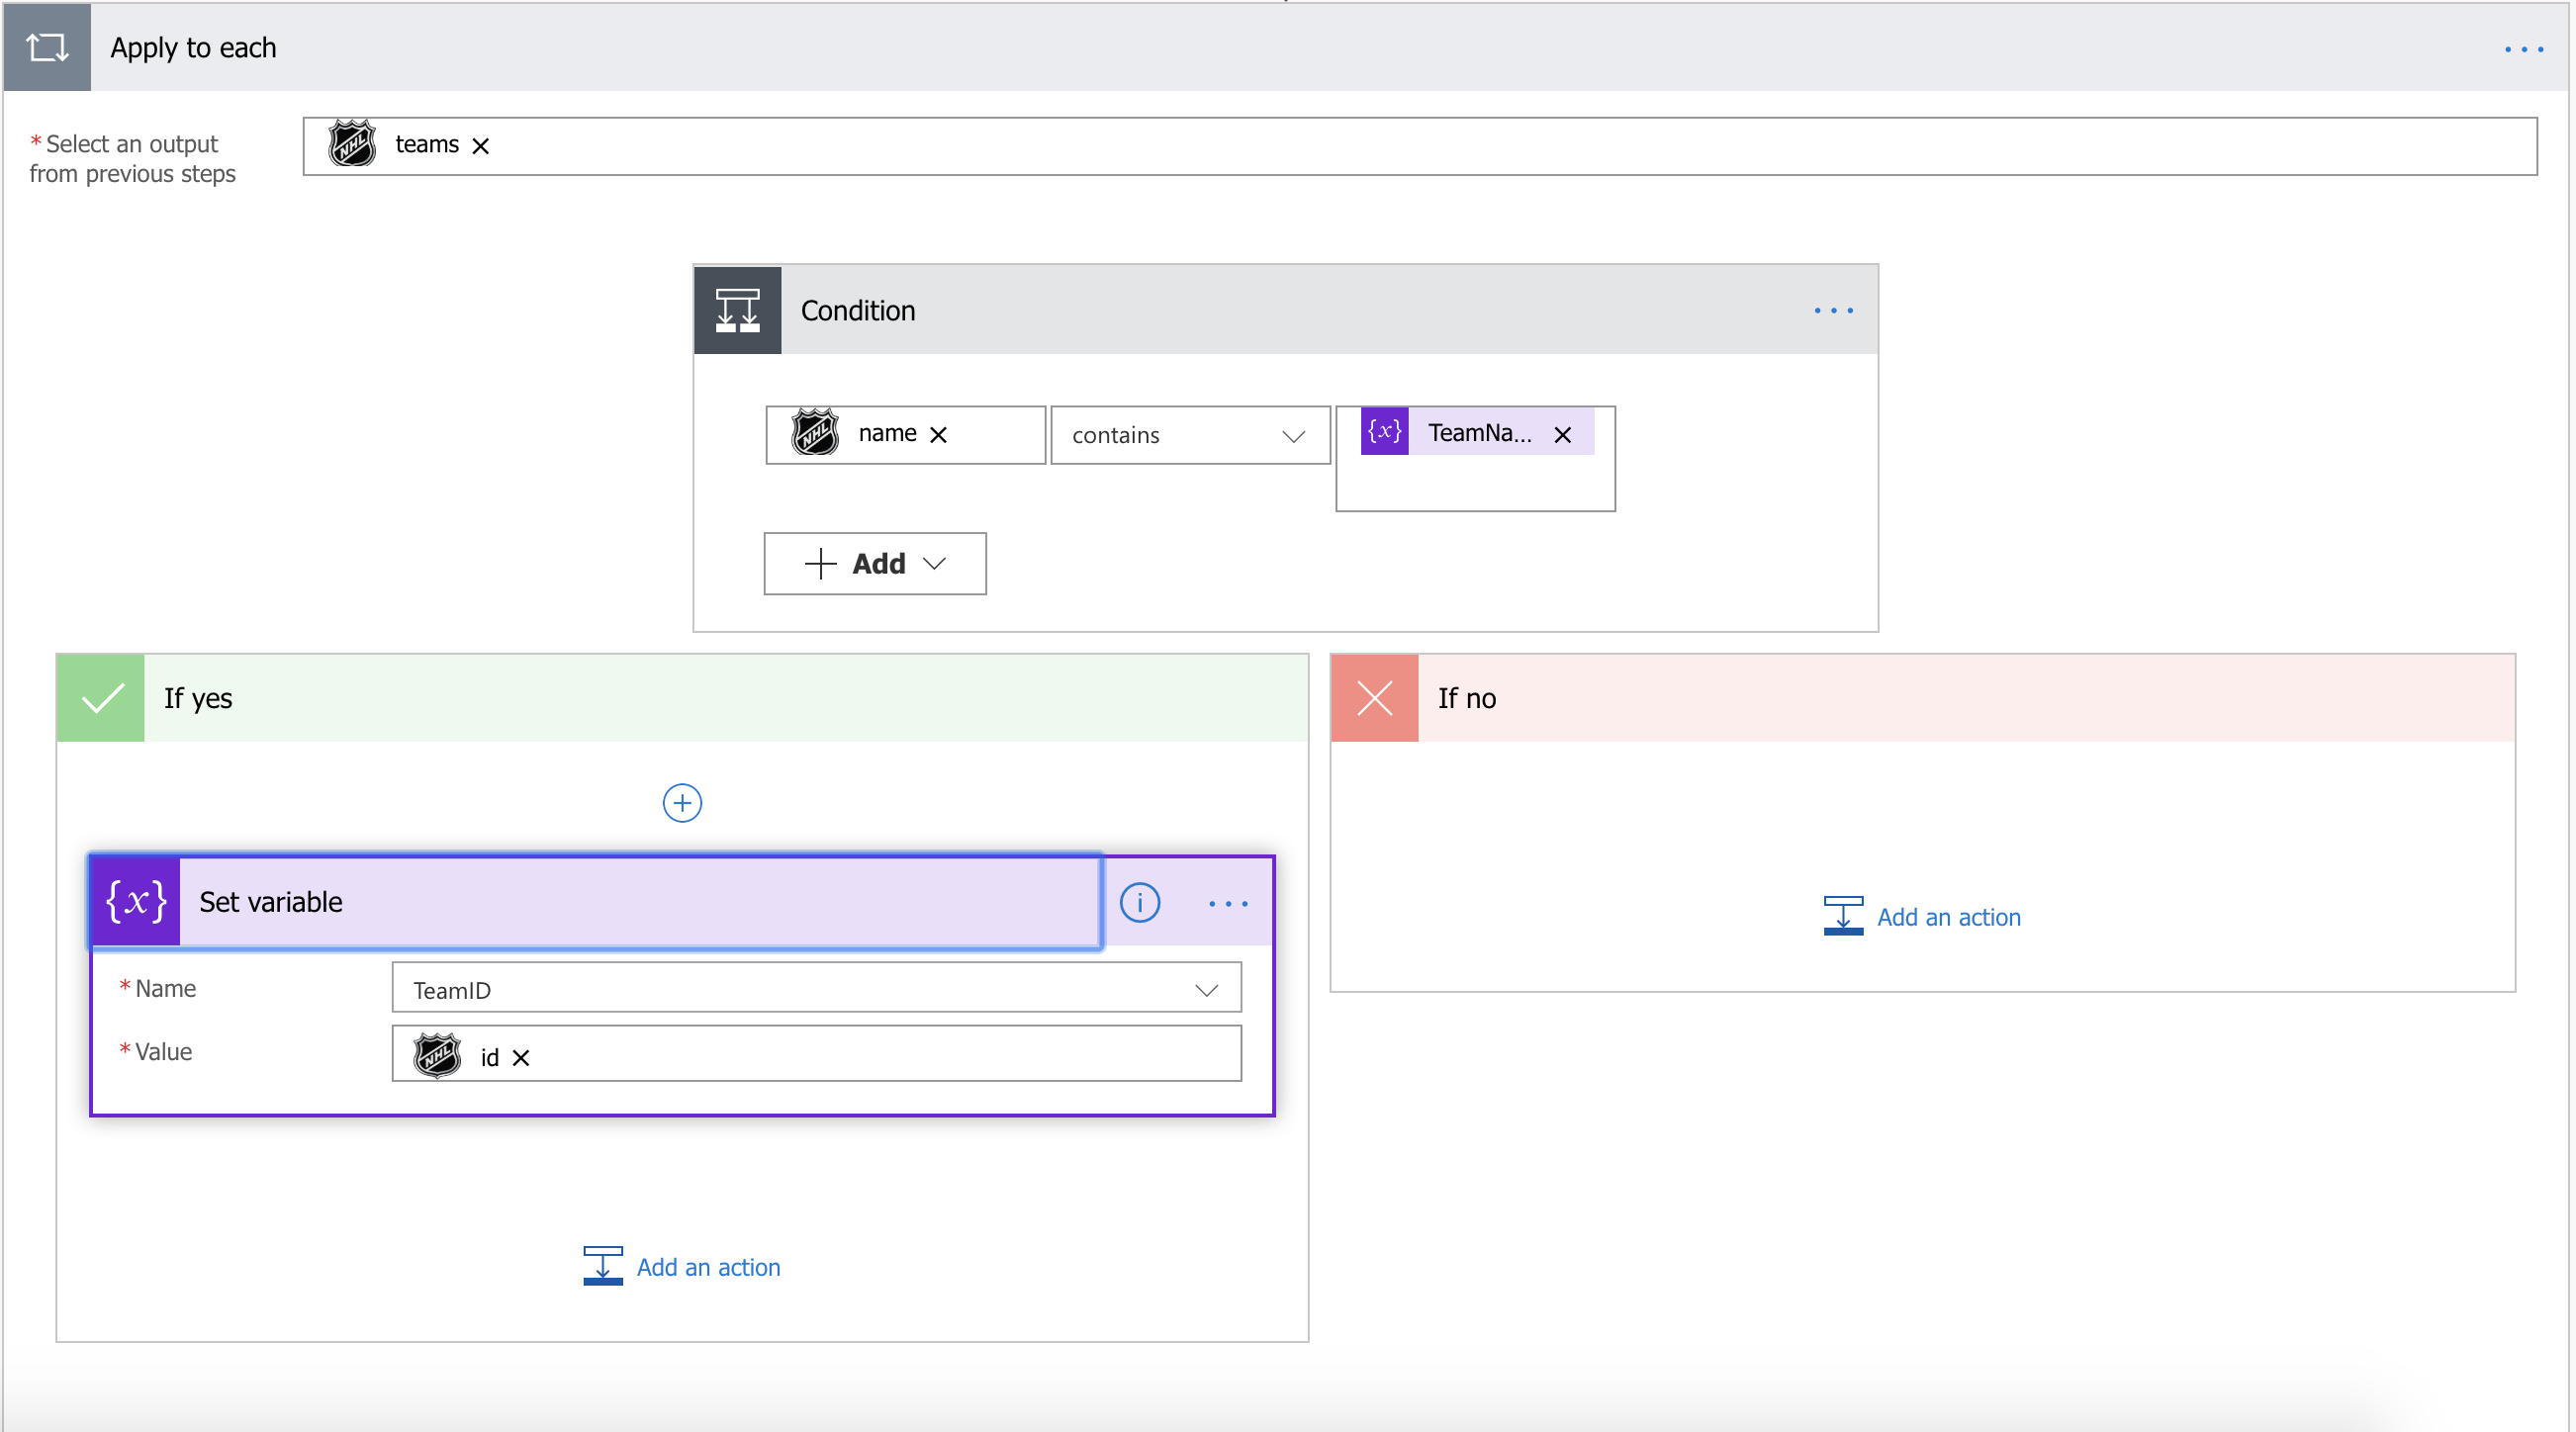
Now we have all the different team’s information returned to us, we need to cycle through the information, so we use an ‘Apply to Each’ action. This will cycle through each team, then we need to do something (get the ID) if the team name matches the name entered by our user so we add the condition ‘name’ contains ‘TeamName’ (variable from user entered text). This will then stop at the point it finds, for example, Penguins and move to the ‘Yes’ column allowing us to assign an ID to the TeamID variable. So in the ‘Yes’ column we add an action ‘Set Variable’, select the ‘TeamID’ variable we created earlier and pass the ‘ID’ from the current team being cycled through our custom connector response, shown below.
Great, we now have our Team ID! We can now retrieve information related specifically to that team! We now need to add another custom connector action. This time we will pass the TeamID into the teamId query. This will pass the ID through to our REST request and add it to the URL. This will then tell the NHL website we just want the information for the team with the ID passed and in turn return only that information (see below).

Now we can simply add it to a HTML table (see below).

Then send it as a notification to our user (see below).

Great! We’re on our way to creating a data application just using flow. We use a button to trigger a search and in response (so far) found the teams unique identifier, created another request for information and displayed the team information to a user in a HTML table on their mobile device.


